Every time you visit the hardware shop and watch the electrician doing something with his professional and punk-ish looking tools like soldering machine and what not; spill the beans about your sparkling crazy creativity at that time. Don’t you feel like going home running and create some sort of masterpiece with wires and pliers all around you and you amidst them all like a pro.


What DIY Wire Art Examples and how to make them and what supplies would be needed and would I be able to do those!!! So many question and trust me; all of those will be appositely answered here! Read and mark!
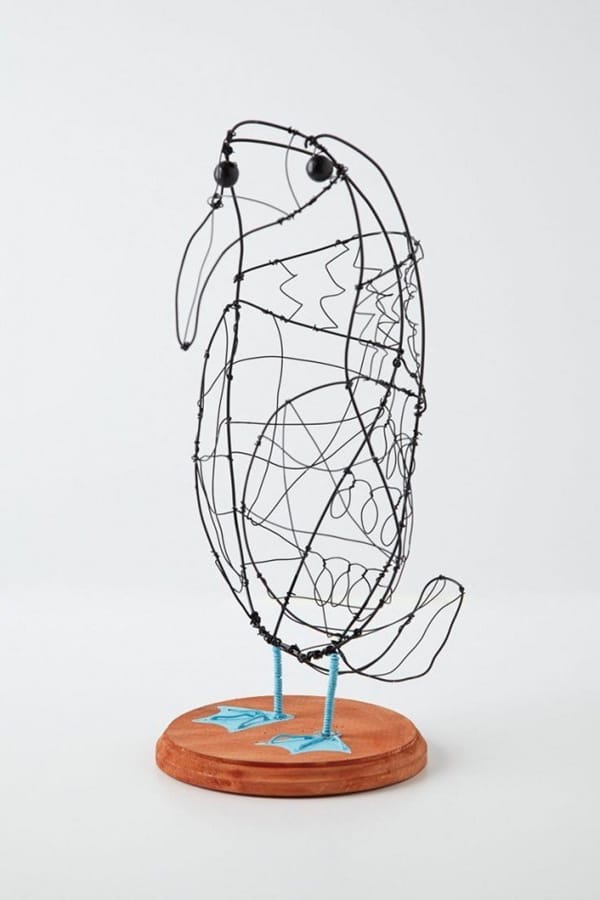
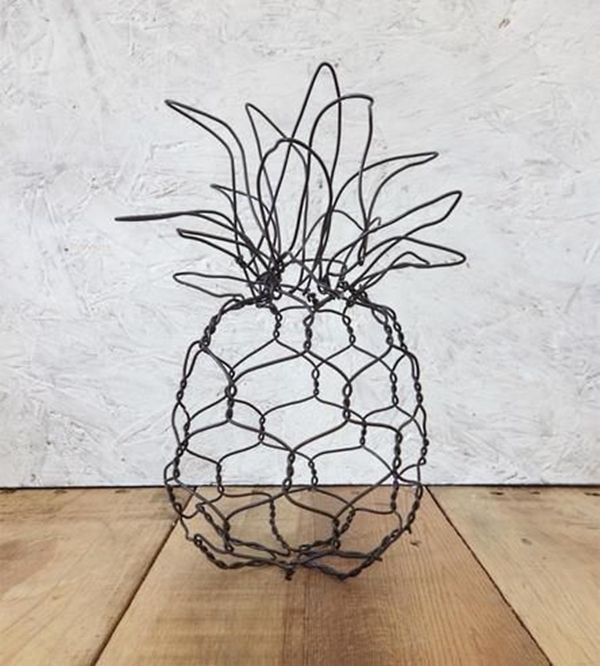
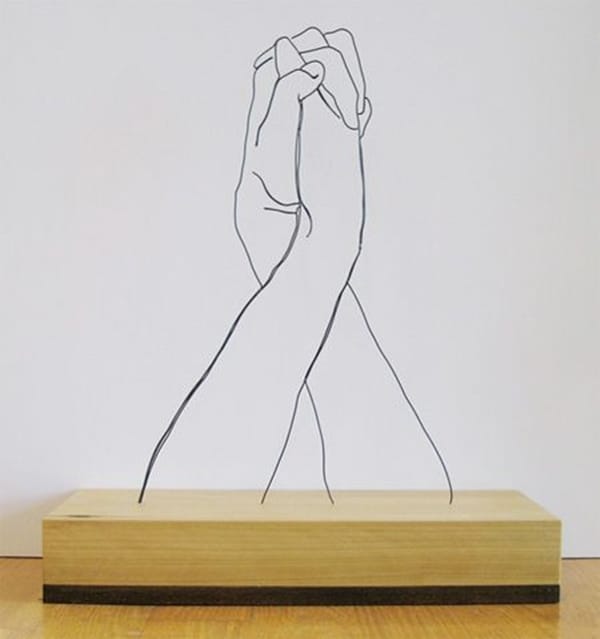
DIY Wire Art Examples
What Tools?
Wires – The field of sculpture and arts is so wide that while talking of wires arts has its own line of tools and supplies. The wires used for sculpting are different and has more flexible property in it that makes it easier for the artist to handle the wire with the moving and bending part of job. There are different materials starting right from the brass to silver and so the varying sizes being measures in gauges. 10 to 28 gauges is the most preferred size of the wire used specifically for wire sculpting. As the gauge increases, the size of wire decreases. 10 to 12 gauge is considered to be heavy wires while the 26 to 28 gauge wires are thin ones.

Pliers – The most basic tools that will be required in creating a DIY Wire Art Examples are pliers. Pliers to help you hold the wire and bend them without putting much effort and with perfection.
- Four major types of pliers are there named on their shape and properties viz., Flat nose pliers, round nose pliers, chain nose and bent chain nose pliers.
- Flat nose is basically used for holding the wire while the round nose wires are often useful at the time of winding wire. Chain Nose pliers, instead, are sharp end and used to fix things by entering the tight congested places in an article. If you want to open or close the rings or bend a wire in a certain shape then pick the pliers with round nose named to be the round chain nose pliers.
- The story about the pliers doesn’t end with these four. There still are several types including the household pliers and rosary pliers and forming pliers and what not that are basically used for more professional work to be done.
Cutters – The cutting thing is well done with the cutters available especially for the DIY Wire Art Examples.
Metal shear cutter is used to cut down the heavy thick sheets and wires and would require minimum effort of all others. A diagonal cutter for that tough situation when you have to work with the edges of wires is a perfect choice. End cutter to cut out separate the end of wire or the flat surface.
Pincer and Tweezers – Used for pinch grab the wire and pull the wire and create jump loops easily without much efforts and time. While making some twisted DIY Wire Art Examples having a number of loops and turns and complex figures like a statue. Pointed tweezers are there and so the blunts are also there with the properties their name is rightly suggesting.
Other Important Tools
- Hammer is yet another important tool that one would need for sure while working up with that creative one inside. Especially used when you are working out for some bigger wire art projects and need more weighed tool to handle the wire.
- Soldering irons to heat and break or heat and connect wires instantly is also a tool you must have.

“HOWS” of DIY Wire Art Examples!
Step 1 – Designing the Ideas and Making Mind Clear about it.
Knowing your design in every possible perspective and pen it down on a note pad before you touch the wires and tools. It is better to clear all the confusion you have than to end up with messed up wires and exhausted you. A successful artwork and development of masterpiece starts with the perfection in the understanding of the idea.
Step 2 – Details to be Imagined Duly
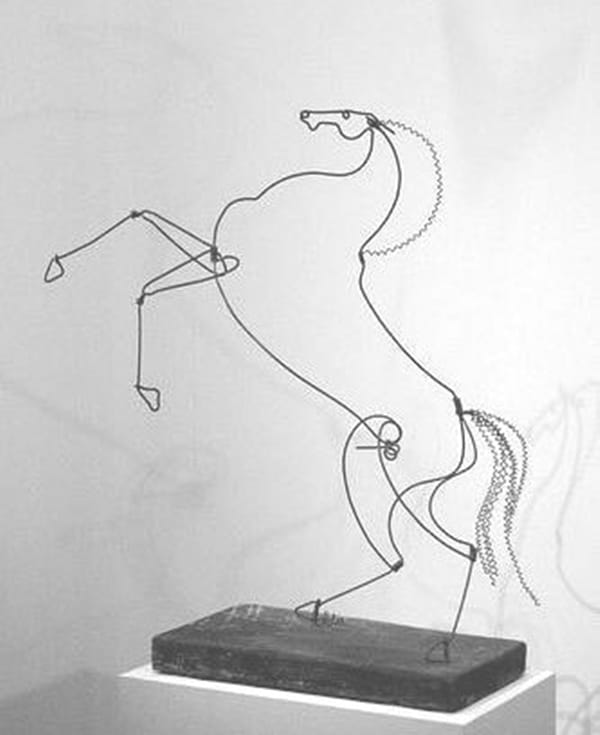
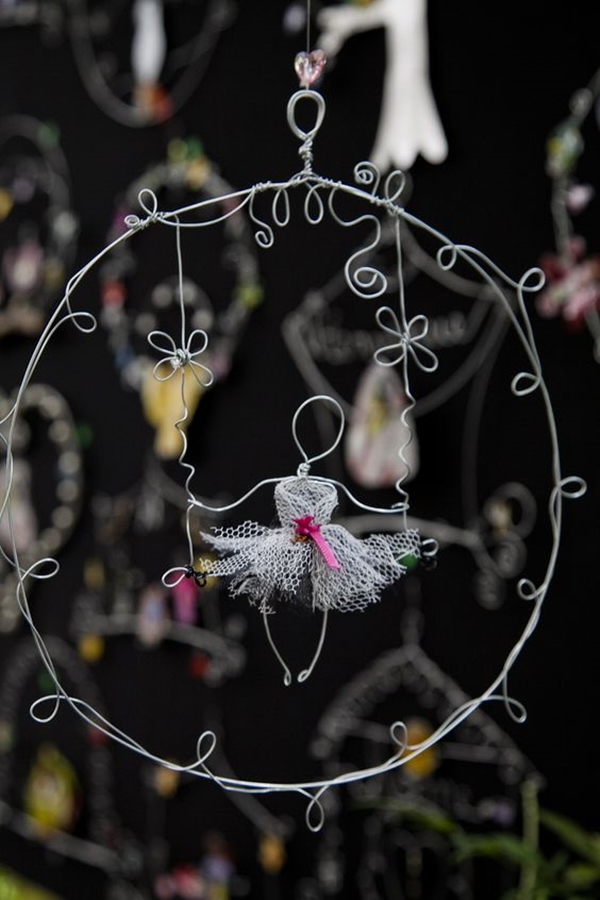
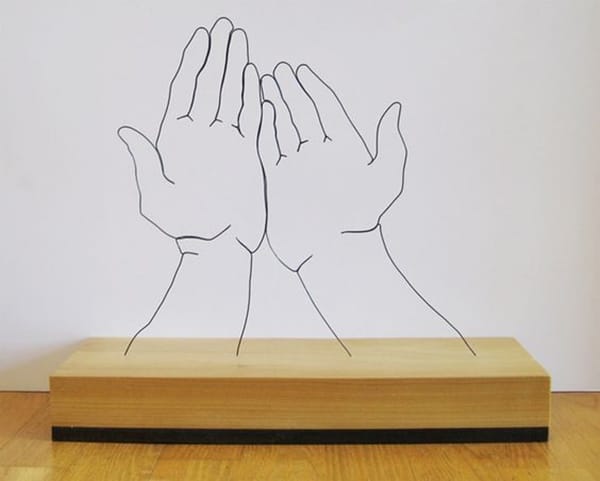
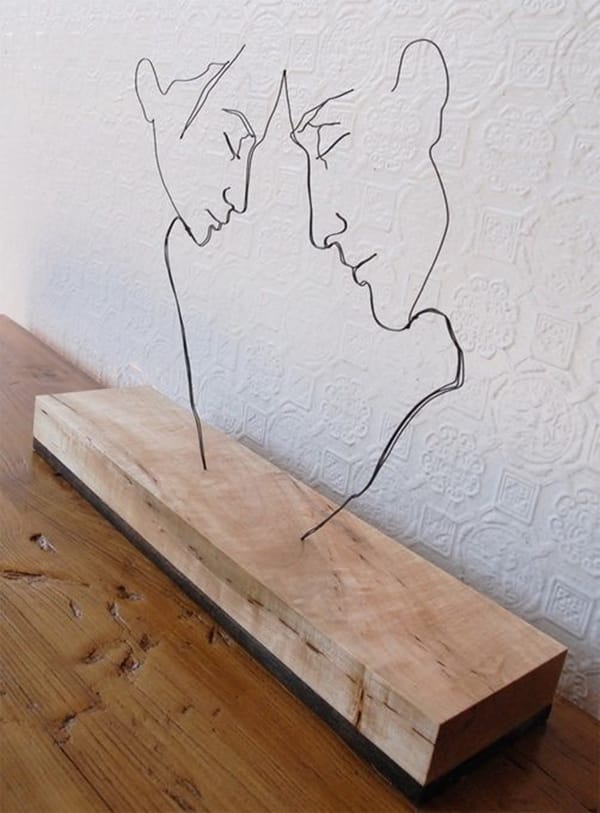
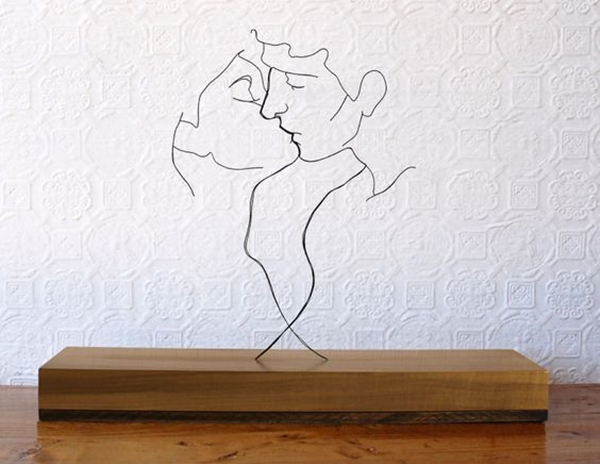
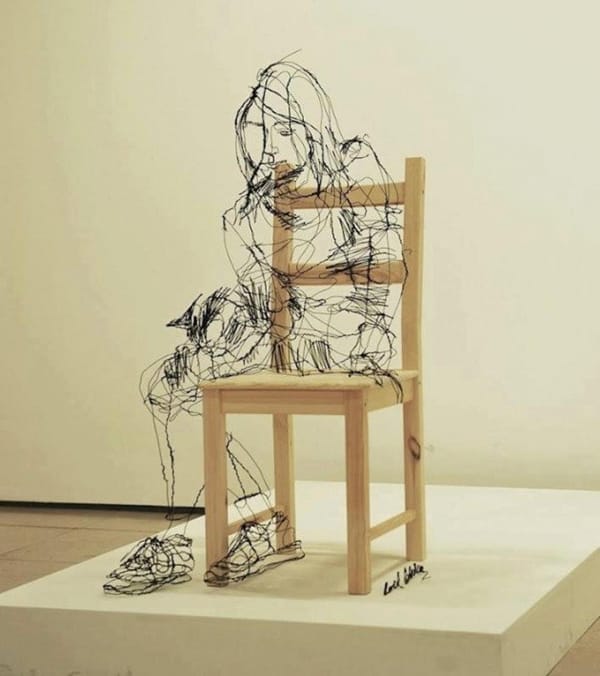
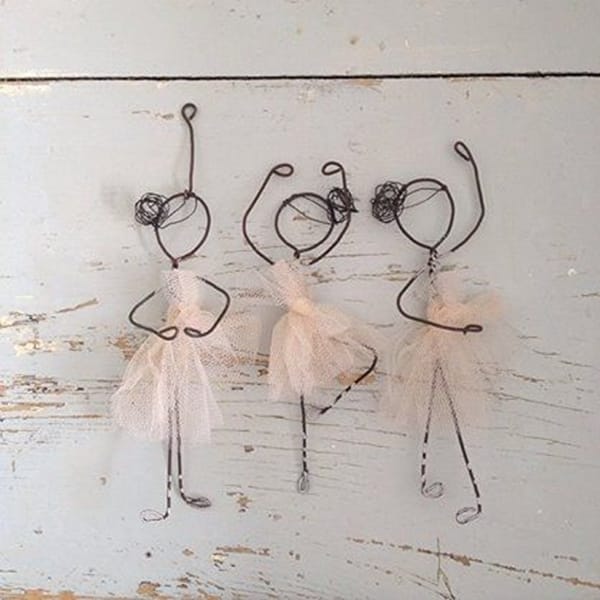
You have to take care of what type of wire is to be used when in the desired model of DIY Wire Art Examples. For instance, if it is a model of a person then you better use at least three different wires differing in the virtue of their sizes. One must be thicker to encode the basic shape of the body while the other must be noticeably thinner to demonstrate the other tiny details of the body.
Step 3 – See Videos as to Experience Visual Maturity of Artwork
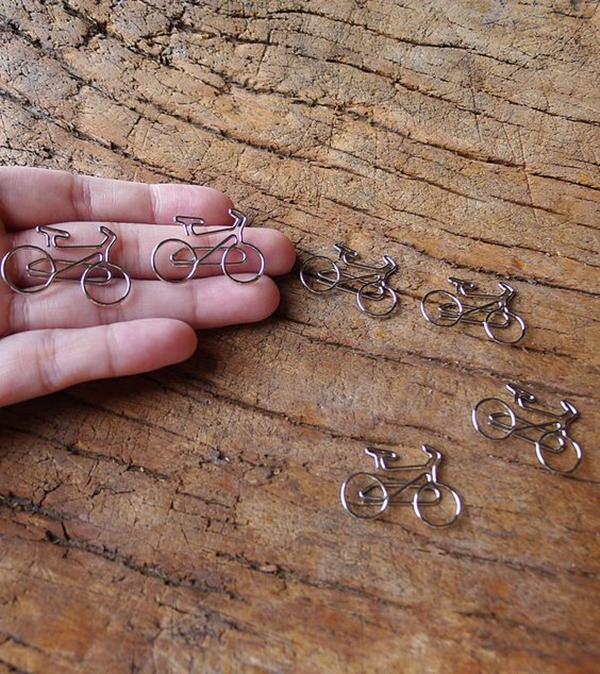
The internet world it is and it has overloaded with infinite videos to help you out with all the queries in your mind. Go browse some informative videos about the DIY Wire Art Examples and get started with you tools and techniques on your side. If you need some confidence and want to get handier with the tricks and turns then start off with something easy to make like the words with bigger font size.


ART that is within you cannot be understood or interpreted by anyone else. It belongs to you only and with these techniques the edges and the hurdles are smoothened and vanished. DIY Wire Art Examples is the best thing you could do this summer and decorate your house in the ways anyone could hardly imagine.